
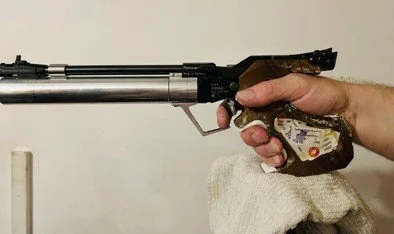
Discussion Article: The Air Pistol Grip and how to make it work for you
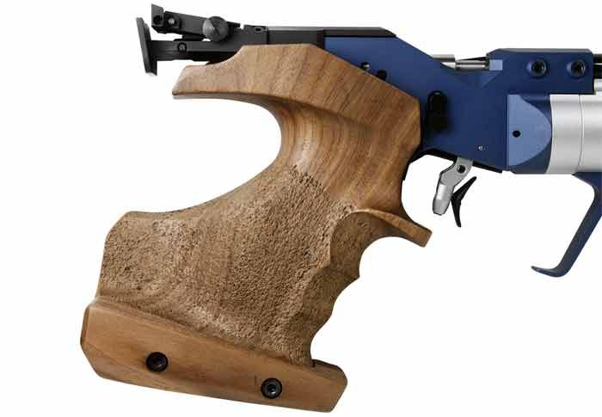
It is essential your grip fits you perfectly, for the simple reason that it can be made to fit you perfectly, so there is no reason for it not to fit you perfectly!
It is unacceptable to lose points because the grip is making the pistol unaligned with the target.
My recommendations for a grip are to use the standard Walnut grip that comes with the gun; an expensive aftermarket grip will still not fit your hand perfectly, unless it is made specifically for you, and you will be more likely to “put up” with it not fitting perfectly rather than take the risk of cutting it up or putting filler on it!
Walnut will also breathe and soak up sweat much better than plywood or plastic, and is easier to carve.
Don't oil or varnish the wood as your sweat will not be absorbed.
Get the largest grip you can use: if say you are on the balance between a medium and a large grip, get the large size. It will have more supporting area available than the medium.
It is also cheaper to use the grip that came with the gun. Second hand grips are available when shooters buy a fancy grip and sell the old one. (poor fools bohahaha)
What a grip looks like is absolutely secondary to how it fits you!
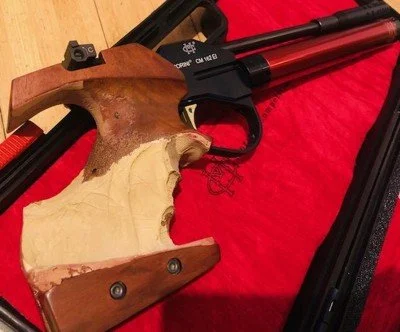
Getting the grip right:
The main points of a good grip is that the pistol should naturally point at the target, IE the sights will be on line from your natural hold and you don't have to artificially adjust your grip or wrist to align the pistol. This is of the utmost importance; lost scores will result as you get tired and the gun will move back to its “zeroed” position.
Test this by setting up your phone in front of you and starting the video. Take your stance and aim the gun at the camera (if you wear shooting glasses you should have them on) close your eyes and hold for at least 5 seconds or longer.
Watching the video back will show you where you are moving to. Do this multiple times so you get a good picture of what is happening. (This is a great way to show up any need for stance altering or any sway you have as well)
Make a note of where the muzzle moves to, as you will need to adjust the grip on the pistol or build out/remove parts of the grip.
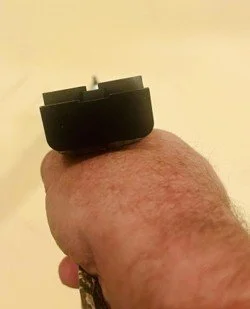
The support points of the grip:
The first is at the top of the second finger, where the grip has a lip under the trigger guard. This controls the pistol's downward tilt by fitting against the finger.
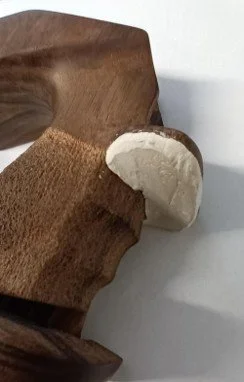
The second is at the heel of the palm next to the wrist, this controls the upward movement of the grip as the pistol tries to tilt forward over the hand. As it does so the palm shelf is pushed up against the heel of the hand.
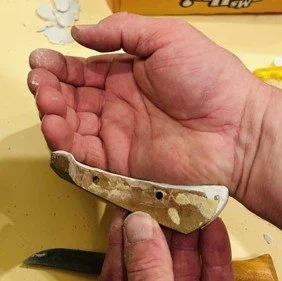
And that's it! You should be able to shoot your pistol with all fingers completely off the grip apart from the second finger. This is a very valuable training exercise as it shows up any influence on the shot by the fingers. Give it a try. If you can't shoot like this it means the grip is not fitting you and needs to be altered.
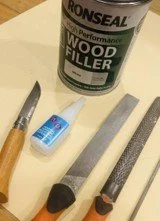
Tools:
sharp pocket knife,
Rasp with a flat and curved side
File with a flat and curved side
Sandpaper if you want to make it look pretty.
Battery drill with a circular rasp fitting. (you can get from B&Q), or a Dremel type tool. Dremel’s may not take wood away very quickly.
A two part wood filler. (I recommend Ronseal white filler)
Super glue
When you get to fitting the grip it is really important you only assess the grip when the pistol is in the shooting position, not when it is on the bench. We are only interested in how it feels and points at the target.
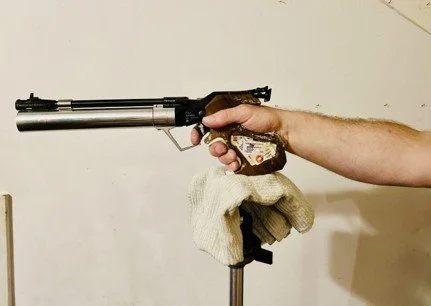
To start the fitting process, for a right hander, grip the gun with the left hand around the cylinder and barrel. Present the grip to the right hand with the web of the hand opened widely, seat this firmly in the neck of the grip, making sure the top of the grip overhang (the horn) is in contact with the top of your hand. If it is not, move up the palm shelf until it does so. If you still can't get contact you will need to make the palm shelf thicker until your hand reaches the top.
To make the palm shelf thicker, take it off the grip, and apply filler in a thick layer, once hard rasp and file down to the required height and shape.
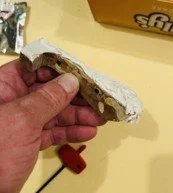
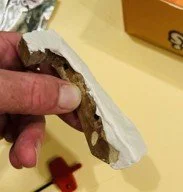
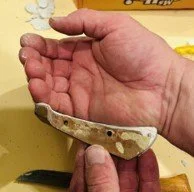
Once you have done this, do some shooting with the gun, observing where the shots are going and checking gun alignment by coming up with the pistol and closing your eyes as before.
Pay attention to the feel of the grip. Is your hand touching it on all parts, including inside the palm? If there is any part that is pressing into the hand or is uncomfortable mark it for removal. If there is any part that is not touching the hand at all mark it for filling out with putty.
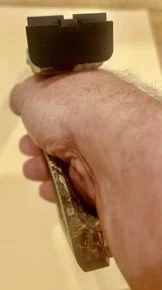
Now look at your fingers. The part of your fingers after the first knuckle need to be in a straight line down the centre of the grip from the trigger guard. If they are not, you need to pack out the grip, or cut some wood away so that your fingers are in the right place.
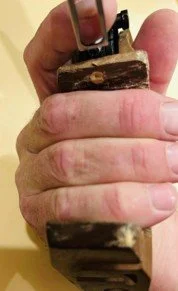
Now go back to the feel of the grip. Rasp away any part that is pressing or uncomfortable, and add filler to any part where there are gaps. Most pistols have grip adjustments for aligning the action and sights to how you are holding the pistol, but on some makes this is limited, or not there at all, and to make the gun align naturally with the target will require careful shaping.
The gripping is done with the second and third fingers, only a small amount of pressure should be used in the little finger, or none at all. I prefer to have less packing around my little finger so I don't disrupt the hold.
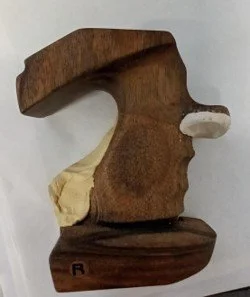
Again it is very important any checking for comfort and alignment is done when in your shooting stance and aiming the gun. Close your eyes and wait for five full seconds before opening them and checking the sight alignment. It is normal for the fore sight to dip a little, but too much and you will need to add some packing under the second finger or pack up the palm rest. Be very aware of any sideways deviation. If you have this it needs to be sorted, as right or left shots will result.
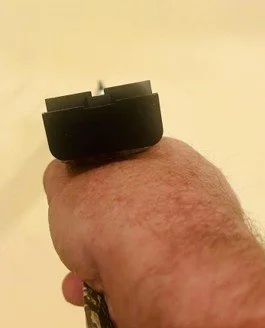
Using the filler.
Mix it according to the instructions, and apply to the grip. A wet finger can be used to dab it into roughly the right shape. It is a good idea to mix a small batch first just to get used to the drying time. It will stay wet then quite quickly harden.
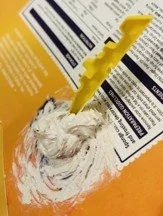
Once it is applied and starting to get a little thicker, get a helper to hold the gun aligned with the target and wet your hand to stop the filler sticking. Put your hand into the grip and sight down the gun. Get a tripod or stand ready at the right height and rest the gun on it while aiming at the target until the filler is hard. This step is really important as the grip will now fit your hand and also naturally point at the target.
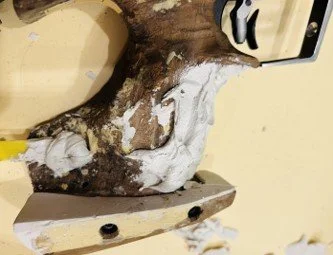
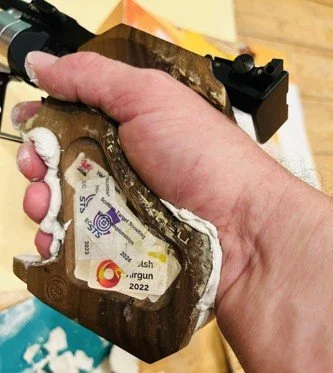
Once the filler is hard enough gently remove the hand. If any filler comes off with the hand, stick it back on the grip with superglue.
The filler will not fully harden for some minutes so use this time to trim off any excess. Trim towards the grip so you don't pull off the filler. It can also be rasped and sanded easily.
If you need to take the filler off, it should come off cleanly by gently tapping it with a hammer.
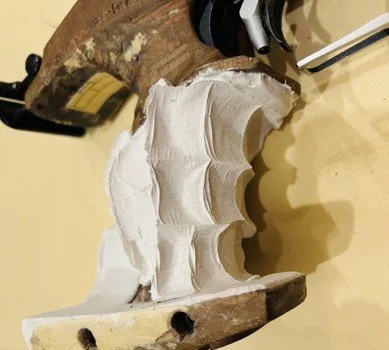
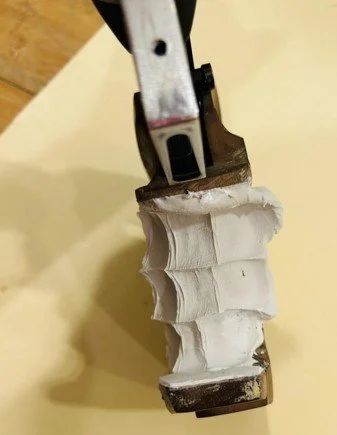
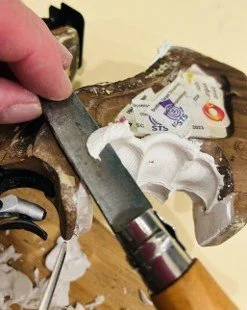
Removing wood or any sanding should be done with the grip off the gun. Be sure to check that the wood is thick enough and you are not cutting into any electrical circuits.
Use the rasp to gently take off wood in the areas you require. Test the rasp on a scrap bit of wood first so you know how it behaves. If the area is concave and you can't use the rasp, use the rasp bit in the drill. This is a tricky tool to use so again test it first so you know how it behaves.
The rasp will leave a rough surface which is ideal for gripping. If you want the surface smooth then gently file it followed by sanding. I don't usually do this at all, and would definitely wait till I was sure the grip is working for me properly before smoothing.
Make sure the palm shelf is long enough, IE it is supporting the wrist as far back as it is legal to be (it must stop before the wrist starts) The grip in the area at the side of the thumb muscle down to the wrist is vital to be fully in contact with the palm, thumb muscle and wrist. Make sure the filler is gently pushed into this area when the pistol is on aim. You must also ensure the horn of the grip over the web of the hand is in full contact. This is really important to stop the gun shaking in the hand.
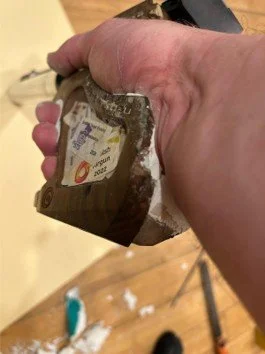
One of the great things is that if you take off too much you can just add filler to compensate, so don't be nervous about trying things!
Make sure you have been noting your scores before altering the grip. Write down what you did and when, this will enable you to look back and see if there was a difference before and after.
A well fitting grip will leave the gun steady in the hand, and point at the target naturally.
All parts of the grip should touch the hand and palm and be a proper connection between you and your gun.
With the putty, you can make the grip a little too good a fit; remember your hand will swell and shrink with the temperature, so I like to gently cut away the sharp edges that go into the hand creases, so the hand is not too locked in.
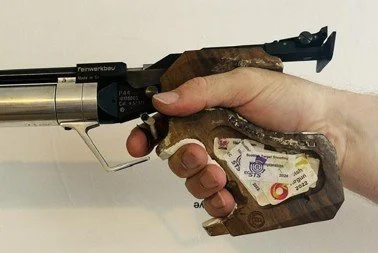
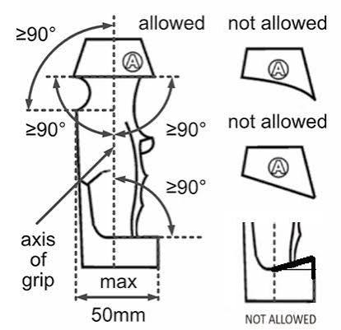
The ISSF has recently changed the grip regulations, and some older grips no longer comply. It is easy to cut down or alter the grip to suit the new regs, and this also means there are a lot of older grips going cheap! For example on this Rink grip, the horn is now too long, and must be cut down by 4mm.
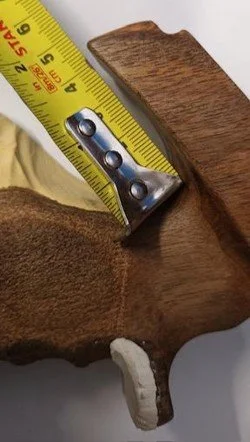
ISSF grip regs
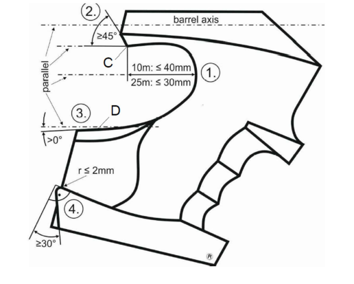
New Pistol Grip Rule 2026.
The Rule Explanation is marked with numbers on Picture 1.- The rear part of the frame or grip (Horn) which rests on top of the hand between the thumb and the forefinger, must not be longer than 40mm (for 10m pistol) or 30mm (for 25m Pistol) from the point where the grip first touches the top of the hand forward to the deepest part of the grip.
(C). 2.- The back (rear) part of the grip (horn) must be cut so that it angles upward from that point by not less than 45 degrees to center line of barrel. 3.- The curvature “D” must be in downward direction to the center line of the barrel from the deepest part of the grip and the grip must not encircle the hand. Curvature must not raise or be parallel with the center line of the barrel at any point from the deepest part of the grip backwards. Curvature must be DOWNWARD DIRECTION!
4.- On the side of the wrist, the end of heel rest (palm rest) must be cut by an angle of 30 degrees or more perpendicular to the end of the heel rest. The end of heel rest can be rounded with a radius max 2mm. or smaller to prevent injuries.
Article by Nick Pye, STS Pistol Development Squad Coach